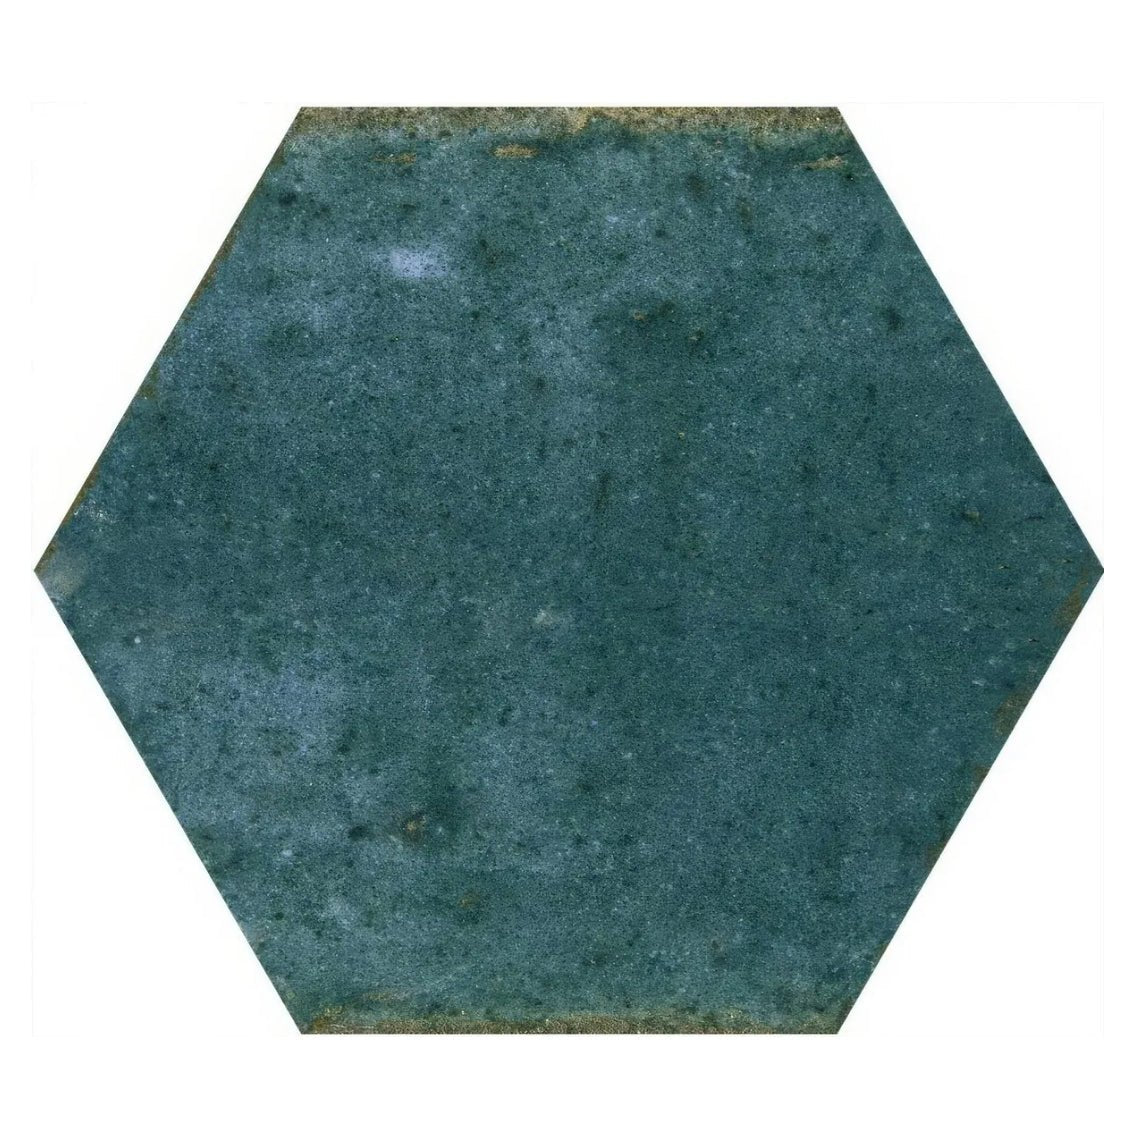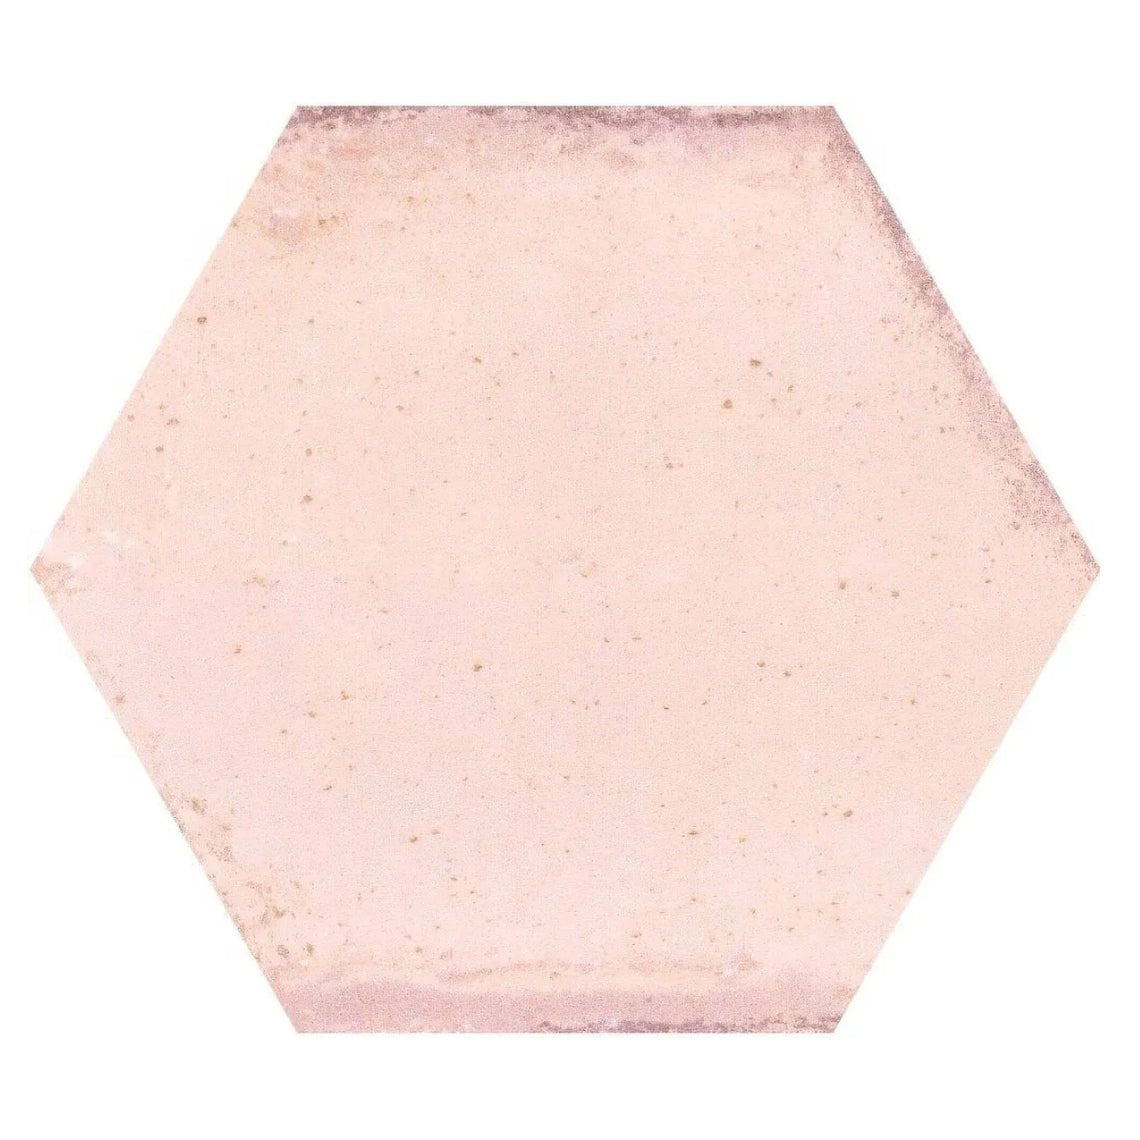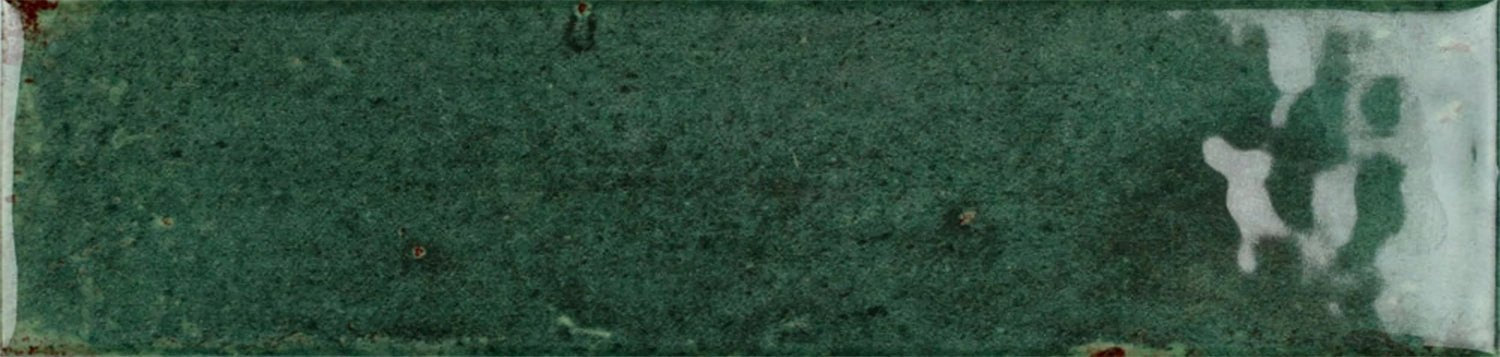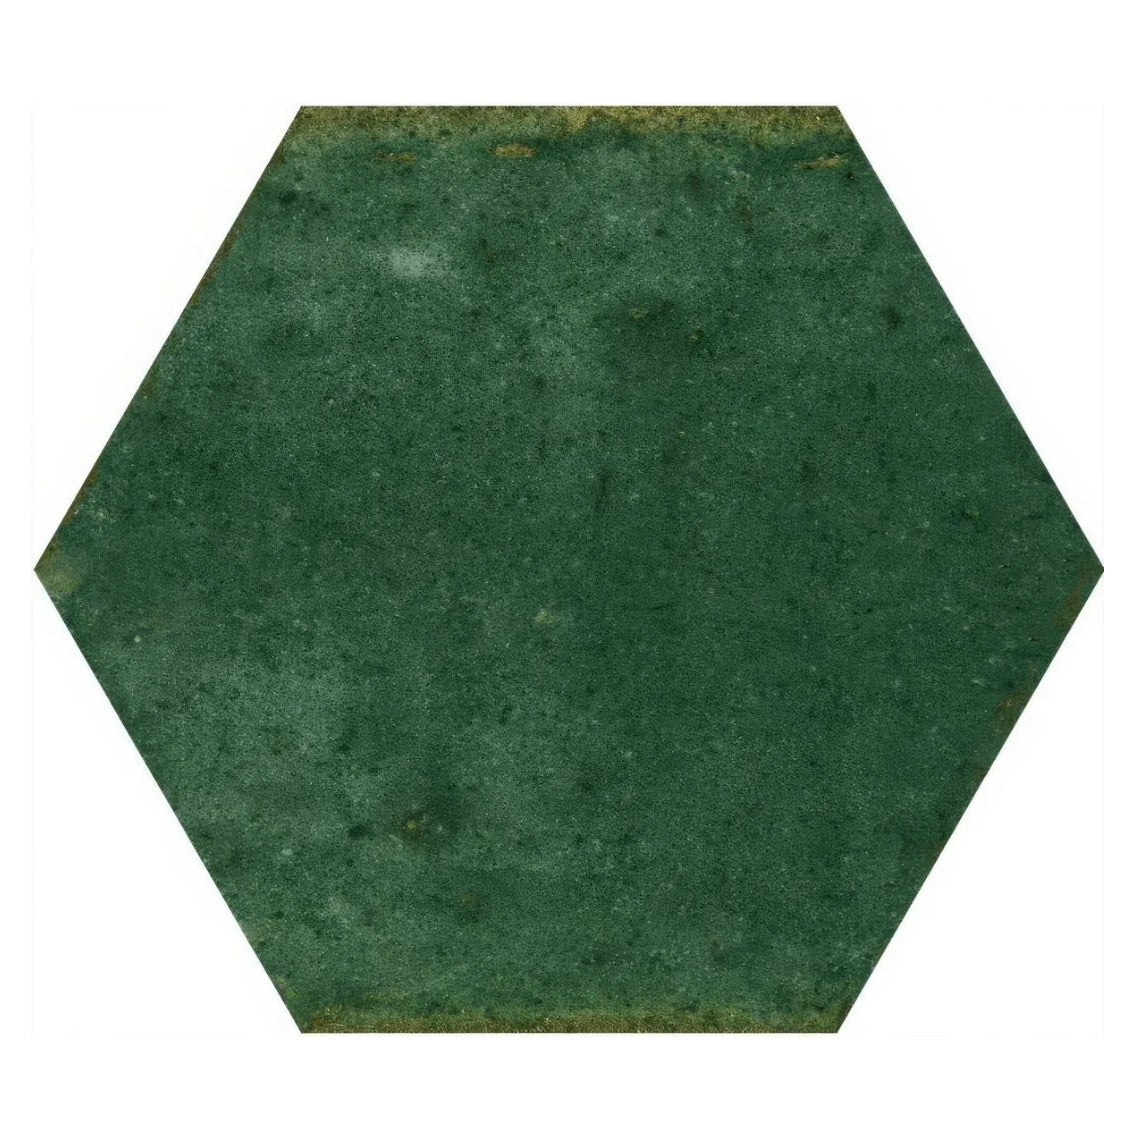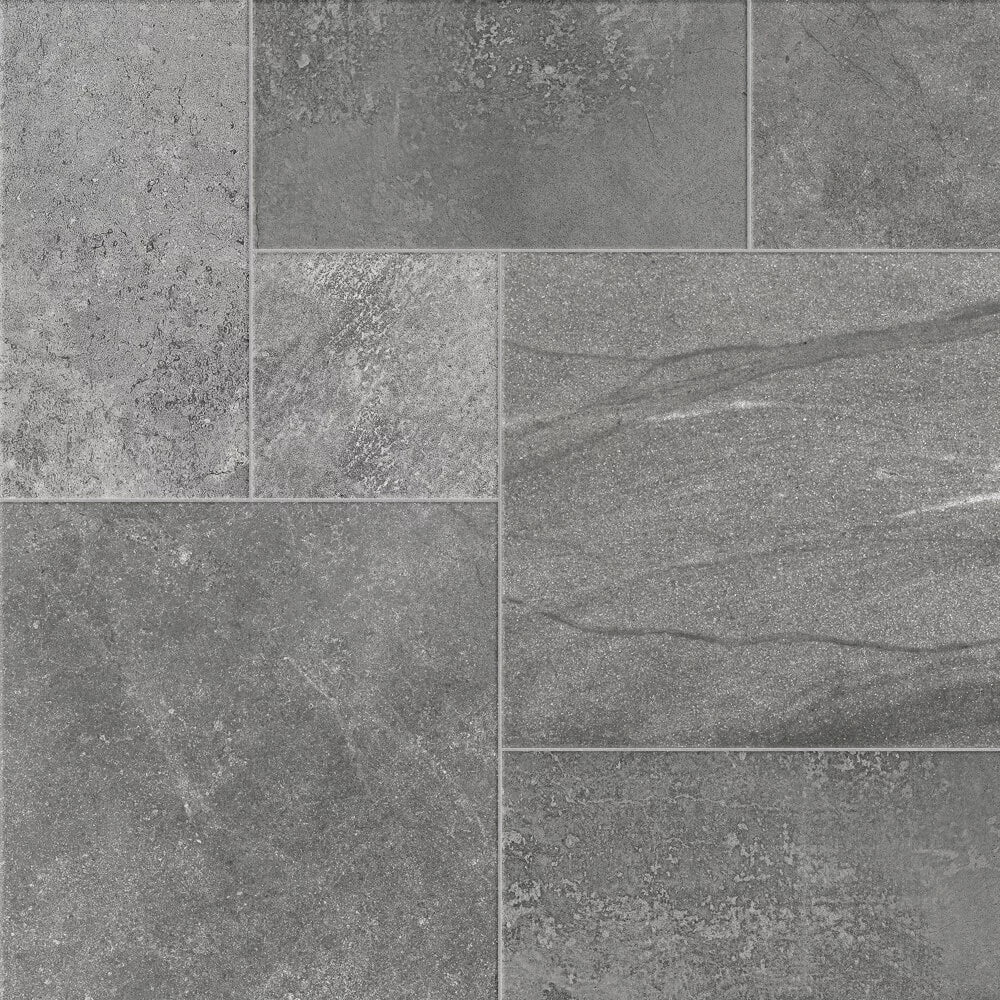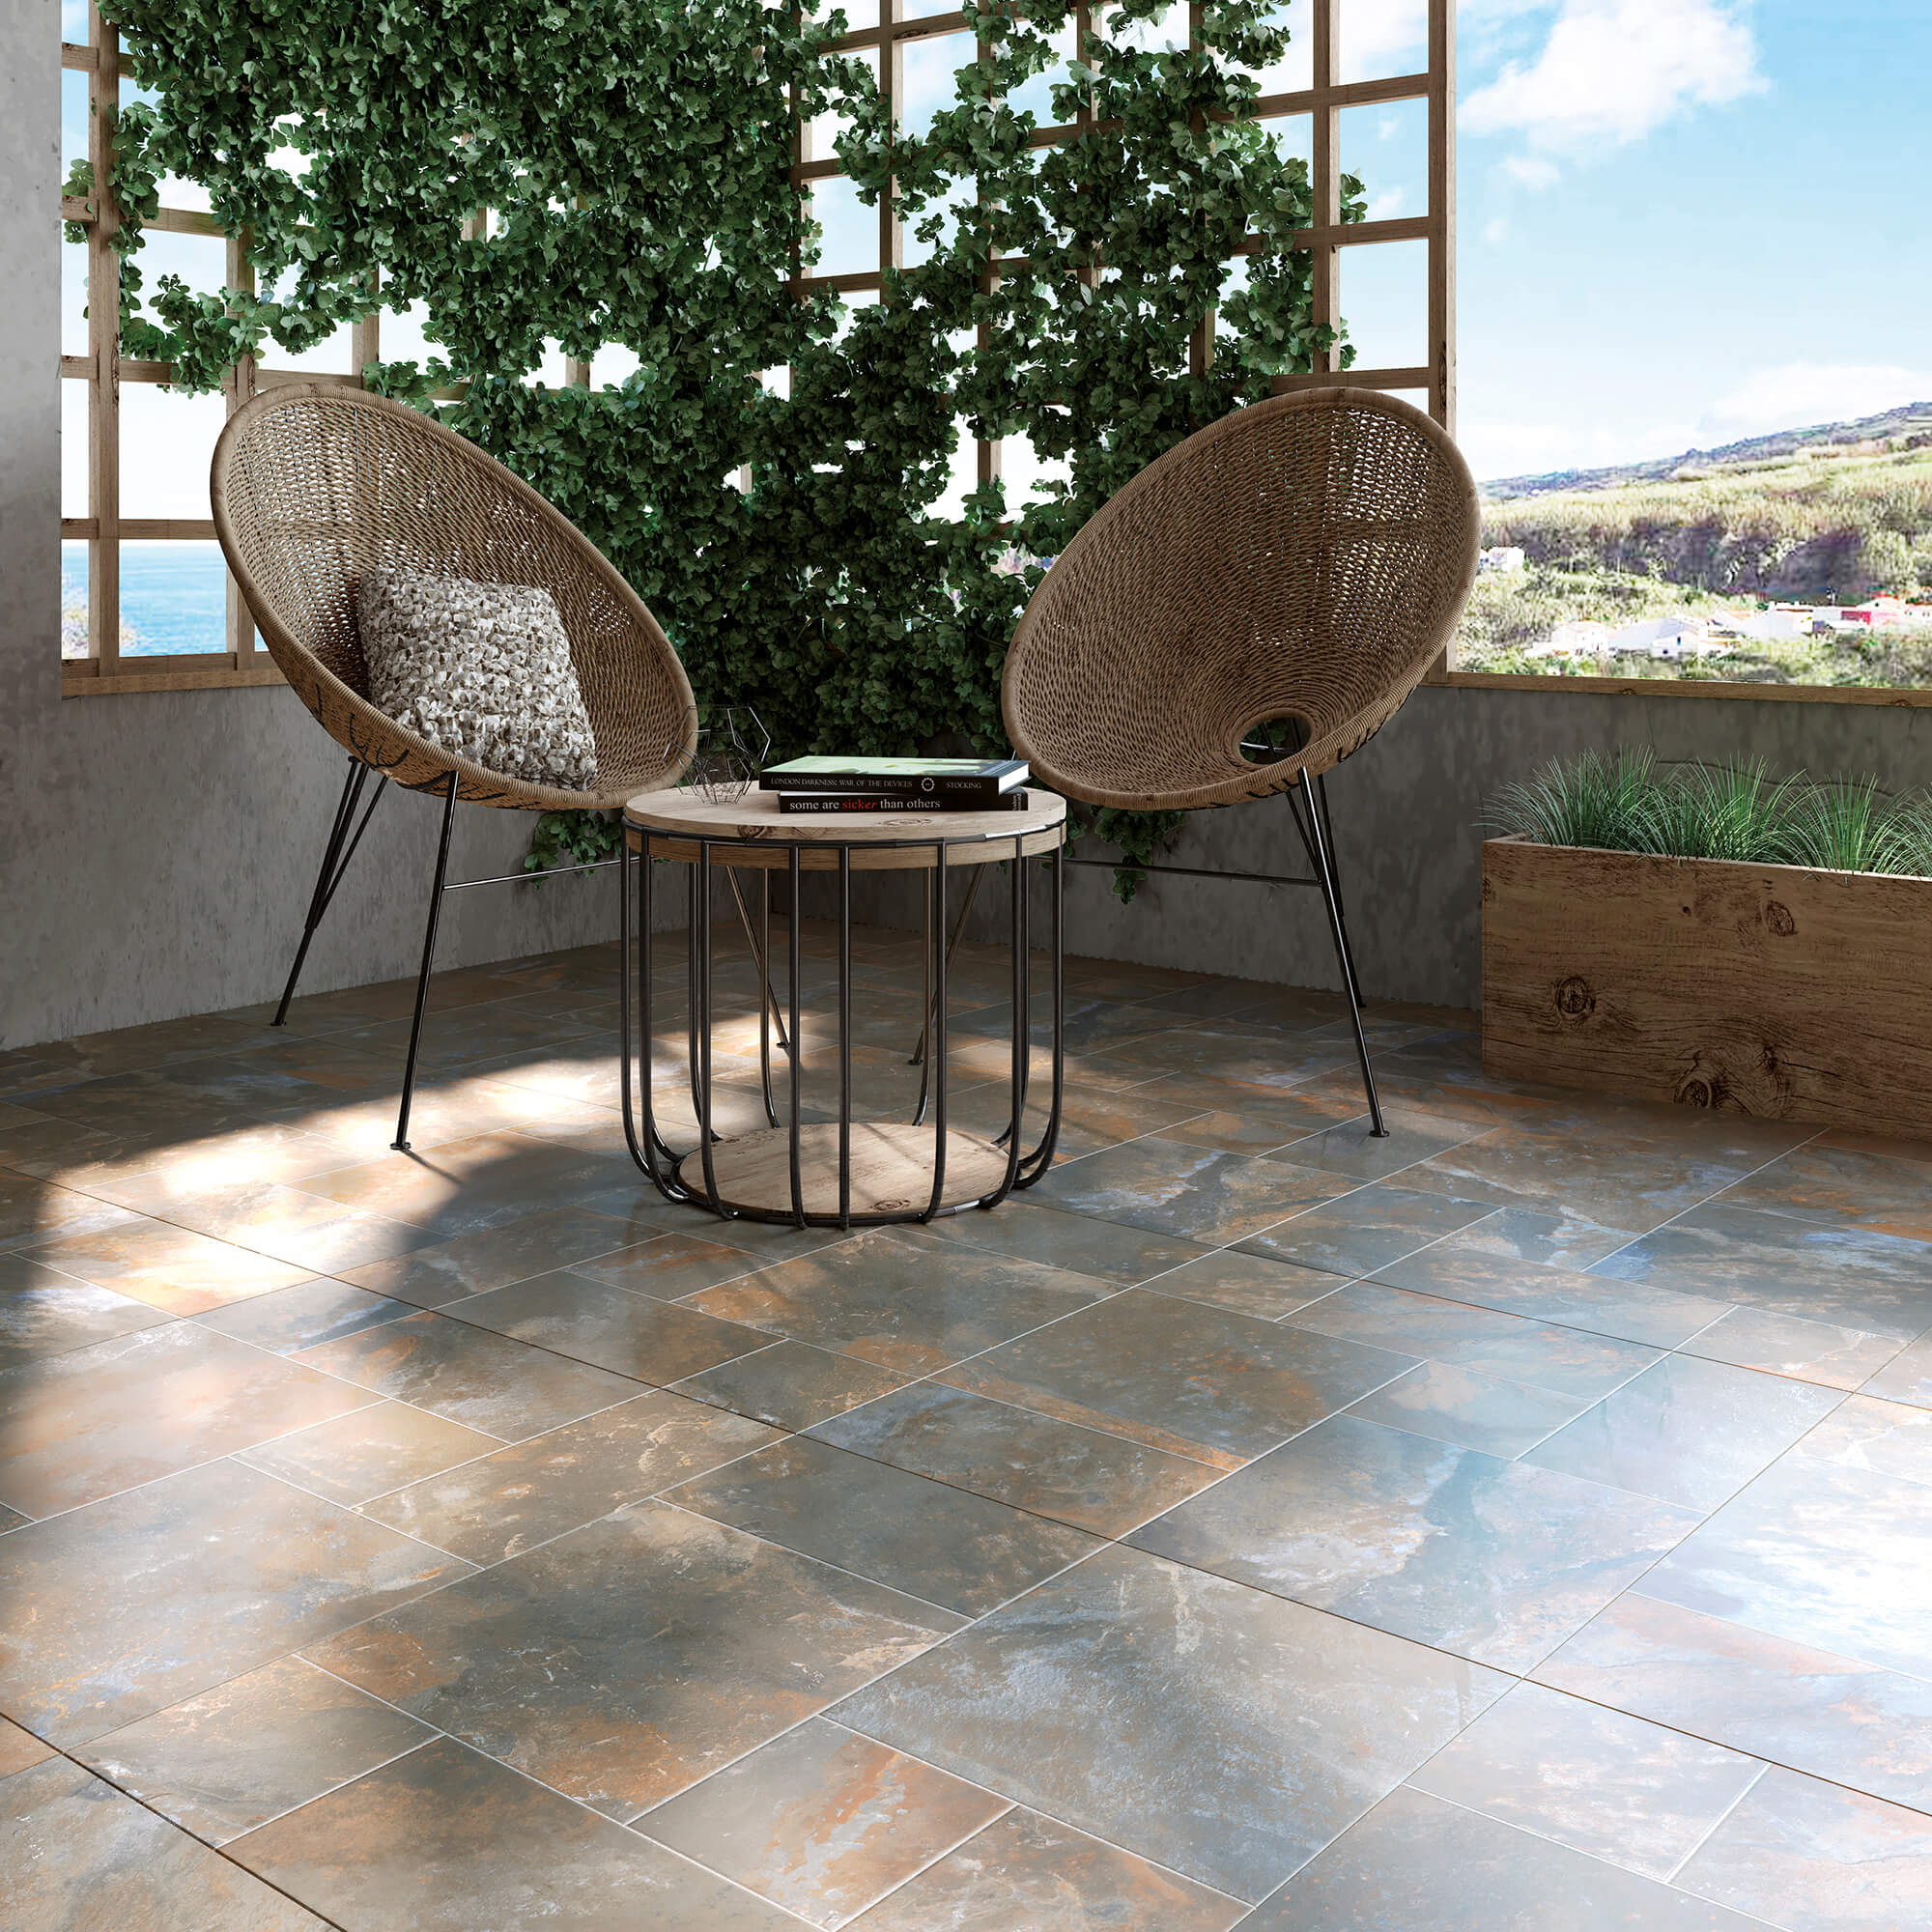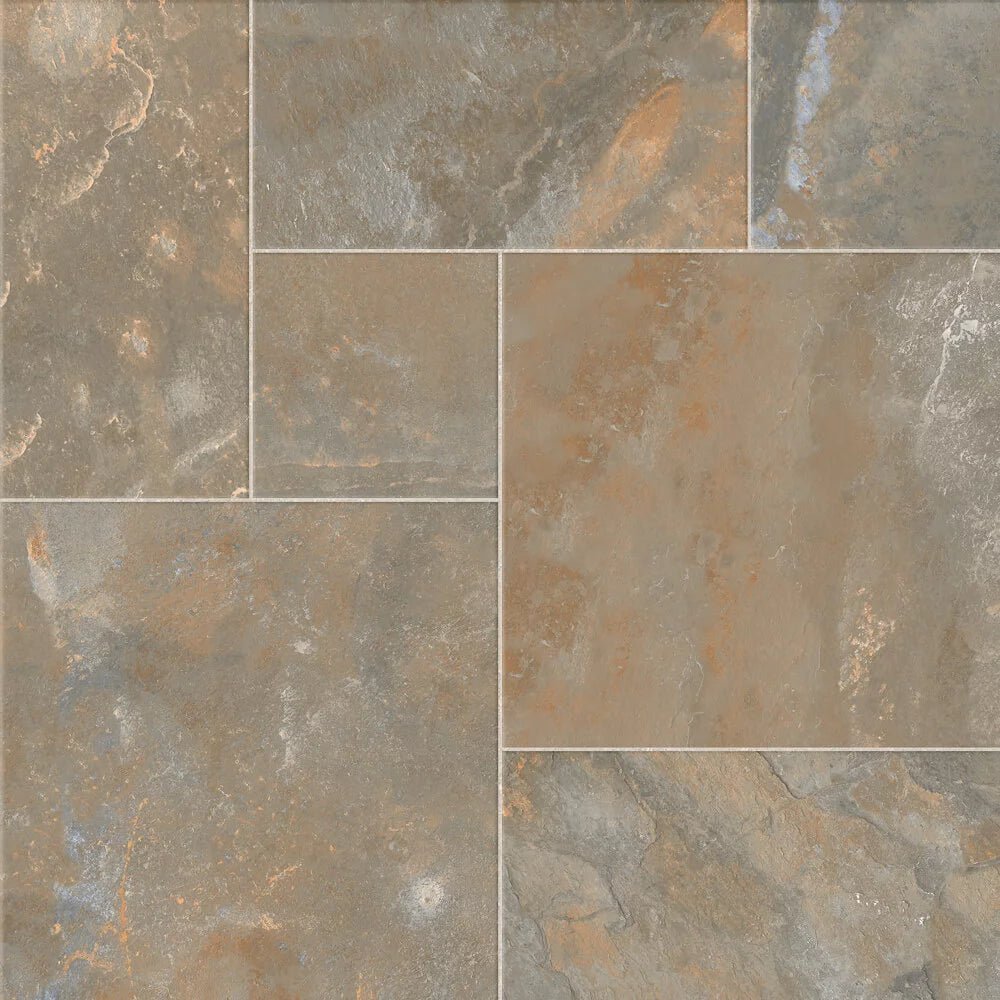

Every porcelain tile starts from the same dense body. BS EN 14411 places porcelain in group BIa, which means the tile absorbs 0.5% of its weight in water or less, and that low absorption gives every finish its frost and stain resistance. The differences sit on the surface and in the size. Polished porcelain gives the highest shine but needs sealing. Matt porcelain suits most floors without sealing. Glazed porcelain offers the widest choice of colour and pattern. Anti-slip porcelain belongs in showers, wet rooms and entrances, and 20mm porcelain slabs belong outside. This guide matches each one to the right room and fixing method.
What every porcelain tile has in common
Manufacturers press porcelain from refined clays, feldspar and sand, then fire it at temperatures above 1,200°C. The international standard ISO 13006, which BS EN 14411 mirrors, defines porcelain as a fully vitrified tile with water absorption of 0.5% or less. Every finish here shares that body, which gives you three benefits.
- Frost resistance, so porcelain suits garden rooms and patios through wet South Wales winters.
- Stain resistance, so only polished porcelain needs routine sealing.
- Weight. One manufacturer's environmental product declaration lists porcelain tiles of 8.5mm to 10.6mm thickness at 15kg to 19.2kg per square metre before adhesive and grout.
The low absorption also sets the one fixing rule that applies to every porcelain tile. A dense, non-absorbent back gives standard adhesive very little to grip, so UK tiling guidance specifies an improved C2 cement-based adhesive, classified under BS EN 12004, for all porcelain. Choose from our adhesives range by tile size and background.
Porcelain finishes compared
The finish decides how the tile looks, grips and ages. Use this table as a starting point, then check the technical sheet for your chosen tile.
| Finish | Appearance | Wet slip performance | Sealing | Where it works best |
|---|---|---|---|---|
| Polished | High gloss, reflects light | Check the wet pendulum test value before using it on a floor | Seal before grouting | Walls, dry hallways, living areas |
| Matt | Low sheen, stone and concrete effects | Look for a wet value of 36 or more on floors | Not needed, use a pre-grout barrier on textured faces | Kitchens, open-plan living, bathroom floors |
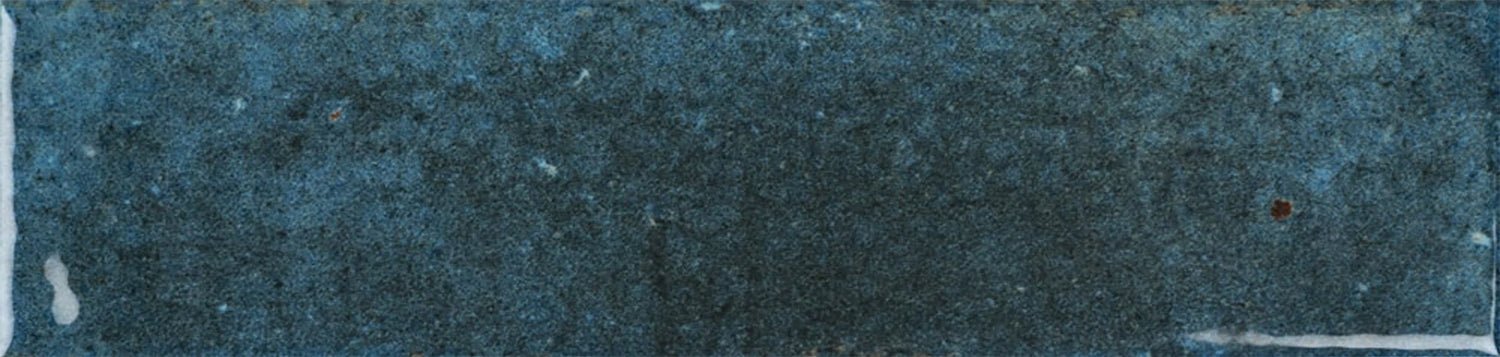
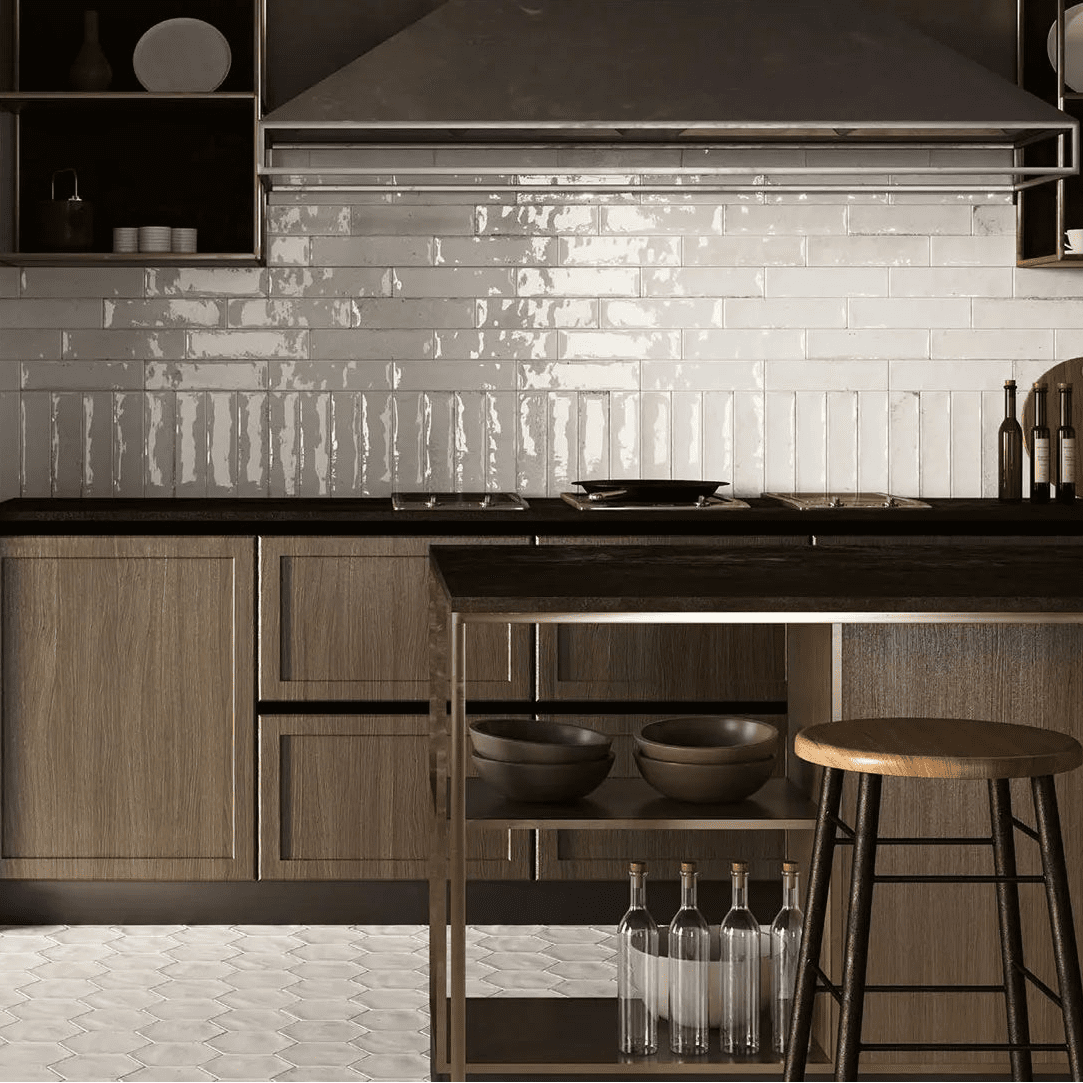
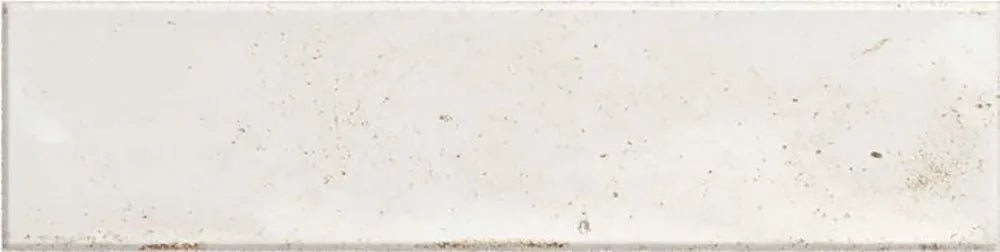
| Glazed | Printed colour and pattern in gloss or matt | Varies with the glaze, check the sheet | Test an offcut and seal only if it marks | Walls, splashbacks, feature floors |
| Anti-slip | Textured, structured surface | Look for 36 or more wet, with a margin for bare feet | Pre-grout barrier recommended | Showers, wet rooms, entrances |
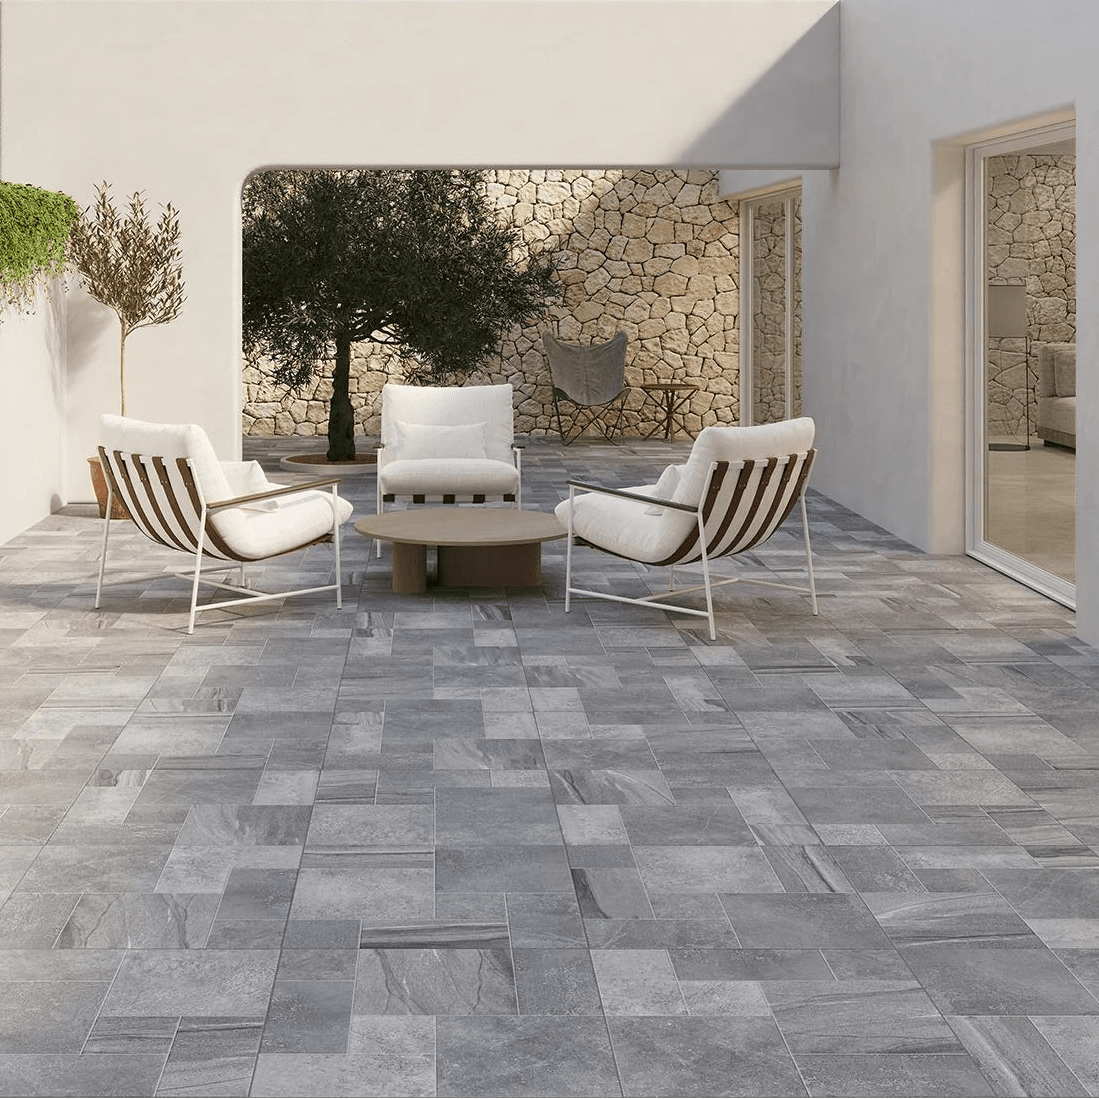
| 20mm outdoor | Textured matt, 20mm thick | Look for 36 or more wet | Pre-grout barrier on textured faces | Patios, paths, garden rooms |
Polished porcelain
To create polished porcelain, the factory grinds and buffs the face of the tile to a mirror shine. That process opens microscopic pores in the surface, and UK tile care manufacturers advise that most polished porcelain needs sealing as a result. Test an offcut with a black marker and a little white spirit. If the mark stays, apply an impregnating sealer before you grout, because grout pigment can settle into open pores and leave a dark frame around every tile. Clean off any factory wax coat first so the sealer can penetrate.
Polished porcelain reflects light into a dark hallway or north-facing living room. On floors, ask for the wet pendulum test value before you buy, and keep polished tiles out of showers and the first metre inside an external door, where rain and wet shoes arrive.
Matt porcelain
Matt porcelain skips the polishing stage, so its surface stays closed and needs no sealer. A textured matt face does benefit from a barrier treatment before grouting. Matt porcelain covers the widest range of stone and concrete effects, from limestone and sandstone looks to travertine. For kitchens, open-plan living areas and bathroom floors outside the shower, choose a matt tile with a wet pendulum test value of 36 or more.
Glazed porcelain
Glazed porcelain carries a layer of glaze fired onto the porcelain body. The glaze carries printed marble veining, terrazzo, wood grain or solid colour. Glazed tiles carry a PEI rating from 0 to 5, which grades how well the glaze resists abrasion from foot traffic. PEI 0 tiles belong on walls only, PEI 3 handles most rooms in a house, and PEI 4 or 5 suits a busy entrance hall or family kitchen.
Unglazed full-body porcelain carries no PEI rating because its colour and material run through the whole thickness, so surface wear and chips show far less. On a glazed tile, a deep chip exposes the body beneath the glaze. For a hallway that takes bikes, prams and dropped tools, a full-body tile hides damage better.
Anti-slip porcelain
The Health and Safety Executive measures slip resistance with the pendulum test, which swings a rubber slider across a wet tile to imitate a heel strike. HSE guidance groups the results, known as pendulum test values or PTV, into three bands.
- 0 to 24: high slip potential
- 25 to 35: moderate slip potential
- 36 and above: low slip potential
HSE uses Slider 96 rubber to represent a shoe sole and Slider 55 rubber for barefoot areas, so a shower floor or wet room needs the Slider 55 result. Because values vary slightly from tile to tile and cleaning products change the surface over time, we recommend choosing a tile that clears 36 with room to spare rather than one that scrapes over the line. R ratings from R9 to R13 come from a separate ramp test and do not convert directly into a PTV, so rely on the wet PTV for a UK home. Textured faces trap grout haze, so apply a pre-grout barrier. Ask us for the technical sheet on any tile in our floor tiles collection.
Small format versus large format porcelain
Large format tiles reduce the number of grout lines in a room, which gives walls and floors a calmer, more continuous finish. Adhesive manufacturers' guidance treats any tile larger than 300 x 300mm as large format when choosing a trowel, and the sizes our customers ask for most start at 600 x 600mm.
| Factor | Small format (300mm and under) | Large format (600mm and over) |
|---|---|---|
| Grout lines | More joints to clean and seal | Fewer joints, calmer finish |
| Shower floors | Follows a four-way fall to a centre waste | Suits a single fall to a linear drain |
| Floor flatness | SR1, 3mm under a 2m straight edge | Better than SR1 to avoid lipping |
| Adhesive | C2 for porcelain | C2 S1 minimum, back-buttered |
Check your walls before you choose large format
The wall behind the tile sets the weight limit. UK tiling guidance sets a maximum of 20kg per square metre for tiles on gypsum plaster and 32kg per square metre on plasterboard, and adhesive data sheets state that the plasterboard figure includes about 3kg for adhesive and grout. With porcelain weighing between 15kg and 19.2kg per square metre before adhesive, a large format tile on plaster leaves little margin. In an older terraced house in Maesteg or the Garw Valley with original plaster, ask your tiler to confirm the plaster is sound or to fix a cement-based backer board first.
Large format also demands a flatter base. BS 5385 sets surface regularity class SR1, a maximum deviation of 3mm under a 2 metre straight edge, and large format tiles need a base better than SR1 to avoid lipping between neighbouring tiles.
Where small format still wins
Small format porcelain suits shower floors with a centre drain. A rigid 600 x 1200mm tile cannot follow a four-way fall towards a central waste without extra cuts, so either pair large tiles with a linear drain set to a single fall, or use mosaics or tiles of 300mm or less on the shower floor. For compact rooms, read our guide to the best tile size for a small bathroom.
Porcelain patio slabs: what changes outdoors
Outdoor porcelain shares the indoor body but comes 20mm thick, roughly double a typical indoor tile. Porcelain absorbs too little water to bond to a mortar bed on its own, so every manufacturer installation guide we checked calls for a slurry primer brushed onto the back of each slab immediately before laying. Follow this build-up.
- Dig out enough depth for a compacted sub-base, the mortar bed and the slab. Allow at least 100mm of compacted MOT Type 1 and a 40mm bed, a dig of about 160mm in total.
- Keep the finished patio surface at least 150mm below the damp proof course of the house.
- Lay each slab on a full, wet mortar bed of 1 part cement to 4 parts sharp sand, 30mm to 40mm thick. Never lay porcelain on five spots of mortar.
- Brush slurry primer onto the back of each slab and lay it straight onto the fresh mortar, tamping it down with a rubber maul.
- Wipe any primer or mortar off the face at once, because you cannot remove it once it sets.
Build in drainage through the bedding layer to the sub-base, which matters on a coastal plot in Porthcawl or a sloping valleys garden. Browse our outdoor patio tiles and ask which ranges have a matching indoor tile, so one colour can run from a kitchen extension onto the patio.
Common mistakes to avoid
- Fixing porcelain with a C1 adhesive or a ready-mixed paste. Porcelain needs a C2 cement-based adhesive, and large format tiles need C2 S1 as a minimum.
- Grouting polished porcelain before sealing it, which leaves grout pigment in the pores and a shadow frame around each tile.
- Choosing a shower floor tile on its R rating alone. Ask for the wet Slider 55 value and choose a tile well above 36.
- Laying large format tiles on a floor that fails SR1. A deviation of more than 3mm under a 2 metre straight edge shows up as lipping between tiles.
- Squeezing grout joints below the minimums. BS guidance sets at least 2mm on walls and 3mm on floors.
- Laying patio slabs on dabs, sand or five spots, or skipping the slurry primer, which leaves slabs hollow and loose.
For the trade
For large format porcelain, specify C2 S1 adhesive as the minimum and move to S2 for very large or thin panels, back-butter every tile and check the substrate against SR1. Install movement joints at perimeters, internal corners and regular intervals in line with BS 5385 Parts 1 to 5, and remember that the 32kg per square metre plasterboard limit includes adhesive and grout. For wet barefoot areas, request the Slider 55 result rather than the Slider 96 figure, and treat 36 as the minimum. On patios, use a fresh-on-fresh method, spreading slurry onto workable mortar and fully coating the back of each slab. Register for a trade account to get trade pricing on porcelain, adhesives, primers and levelling systems from our Bridgend stock.
Frequently asked questions
Do porcelain tiles need sealing?
Most matt and glazed porcelain tiles do not need sealing because the body absorbs 0.5% of its weight in water or less. Polished porcelain is the exception. Polishing opens microscopic pores, so seal it with an impregnating sealer before grouting. Test an offcut first. If a black marker wipes off with white spirit, the factory has already sealed the tile.
Can you use polished porcelain on a bathroom floor?
You can, but check the wet pendulum test value first. The HSE classes a wet value of 36 or more as low slip potential and 25 to 35 as moderate. Keep polished porcelain out of the shower area and choose a matt or anti-slip tile there, with a TRL slider 55 result of 36 or above for bare feet.
What is the difference between glazed and full body porcelain?
Glazed porcelain has a fired glaze on top of the porcelain body. The glaze carries the colour and pattern and receives a PEI wear rating from 0 to 5. Full body porcelain has the same colour and material through its whole thickness, so it carries no PEI rating and hides chips and wear better in hallways and busy kitchens.
What adhesive do you need for large format porcelain tiles?
Use a cement-based C2 adhesive with S1 deformability, classified under BS EN 12004, as the minimum for large format porcelain. Spread it on the floor or wall and back-butter each tile so no voids remain, as BS 5385 Part 3 recommends for floors. Never use ready-mixed paste for large porcelain, and move to an S2 adhesive for very large or thin panels.
Can you lay porcelain patio slabs on sand?
No. Porcelain patio slabs need a full, wet mortar bed, typically 1 part cement to 4 parts sharp sand at 30mm to 40mm thick, over a compacted sub-base. Brush slurry primer onto the back of each slab immediately before laying, because porcelain absorbs too little water to bond to mortar on its own. Never lay porcelain on sand or five spots.
See every porcelain finish side by side in Bridgend
Our Bridgend showroom has complete room settings with porcelain on walls and floors, plus stock available to take away, local click and collect and delivery. Bring a photo of your room and we will match the finish, format and adhesive to it. Visit us at Unit 1, Main Avenue, Brackla Industrial Estate, Bridgend, CF31 2BB, Monday to Friday 8am to 5pm and Saturday 10am to 2pm, closed Sunday and bank holidays. Call us on 01656 767740 or shop online at bridgendtb.uk.