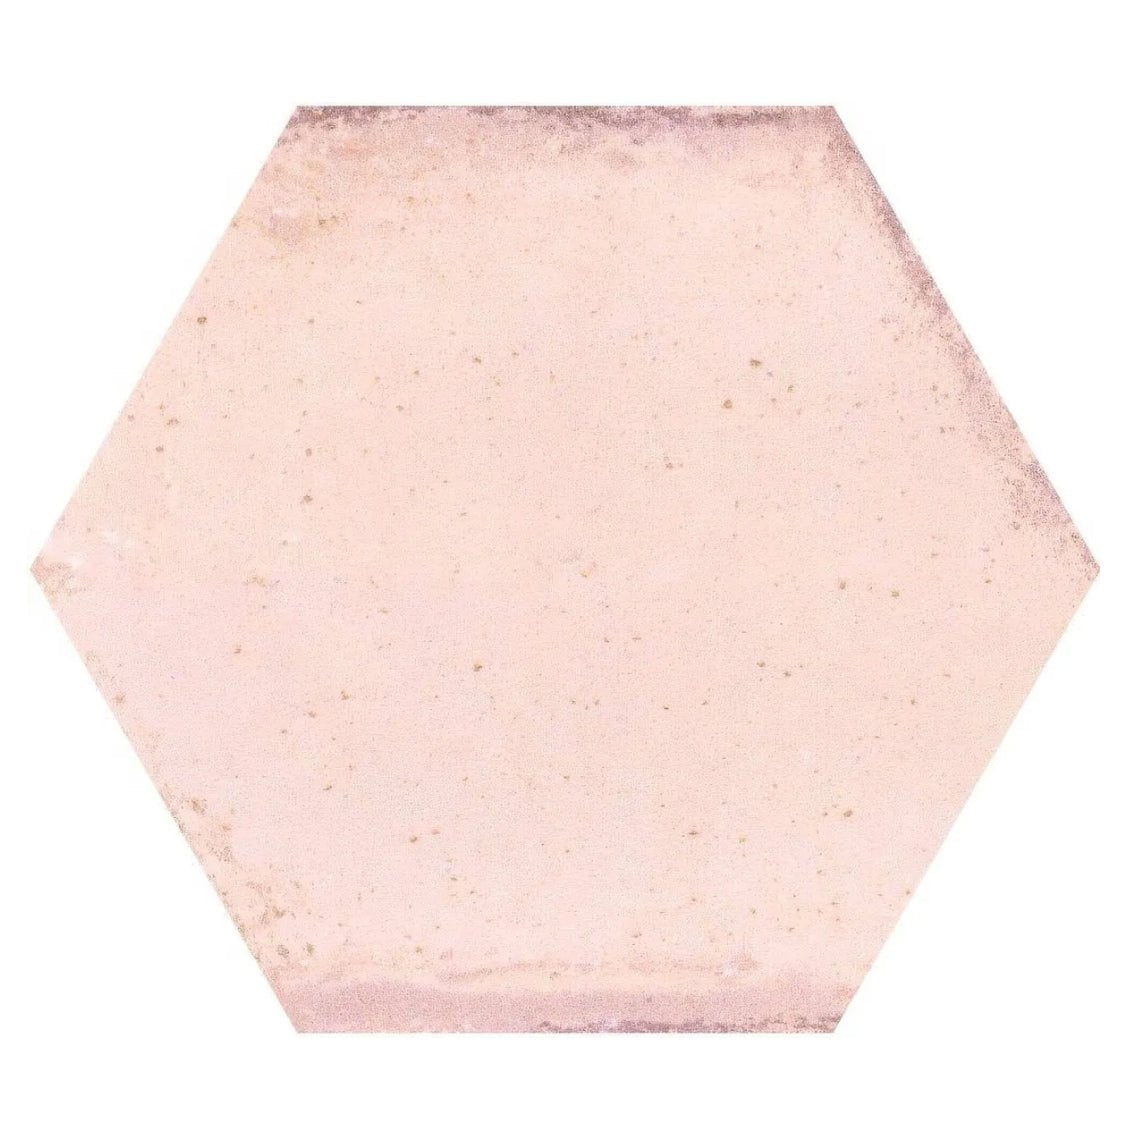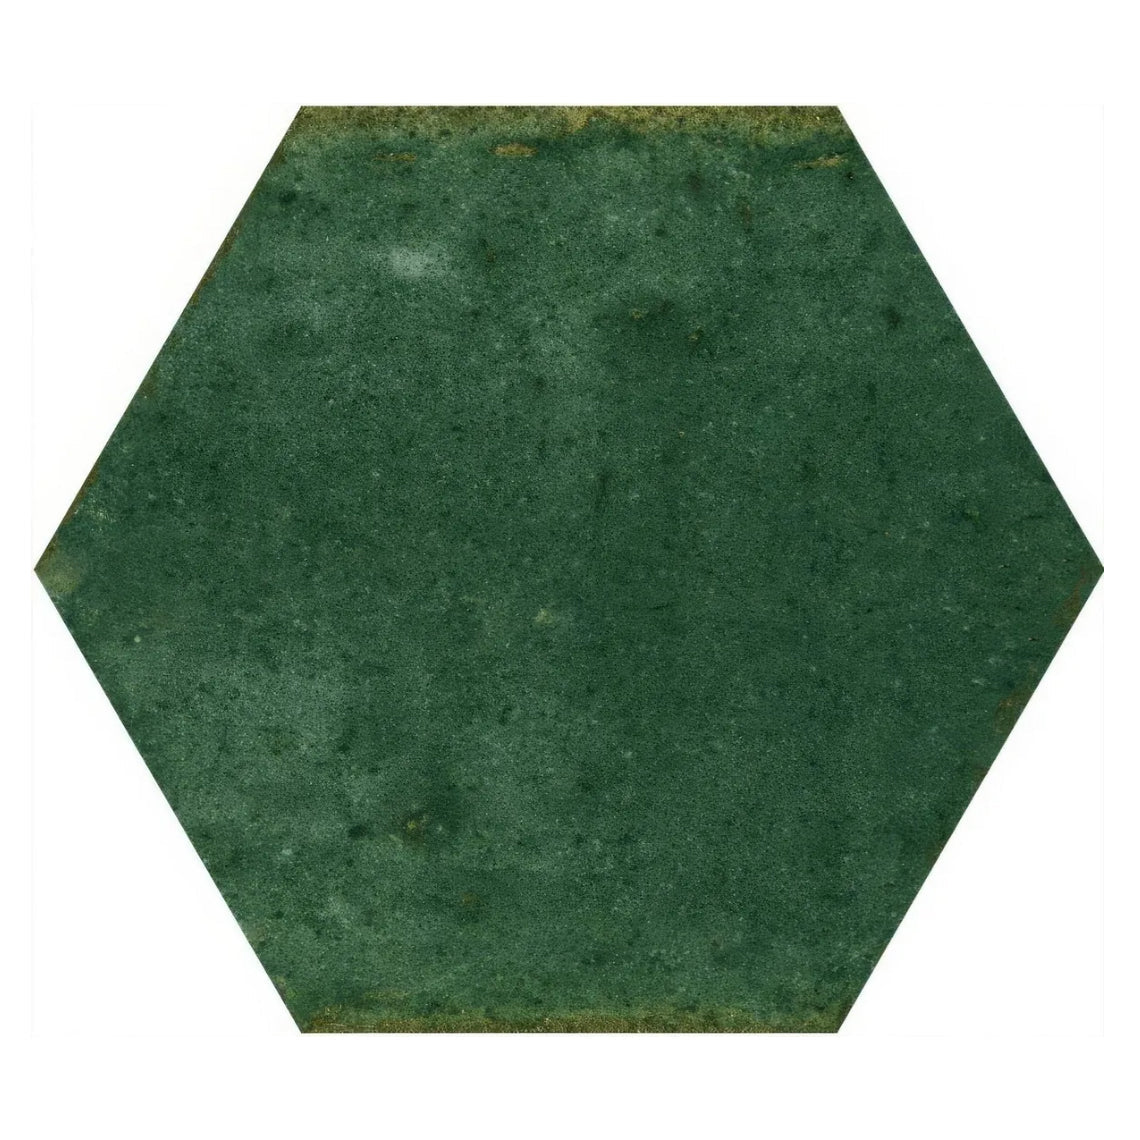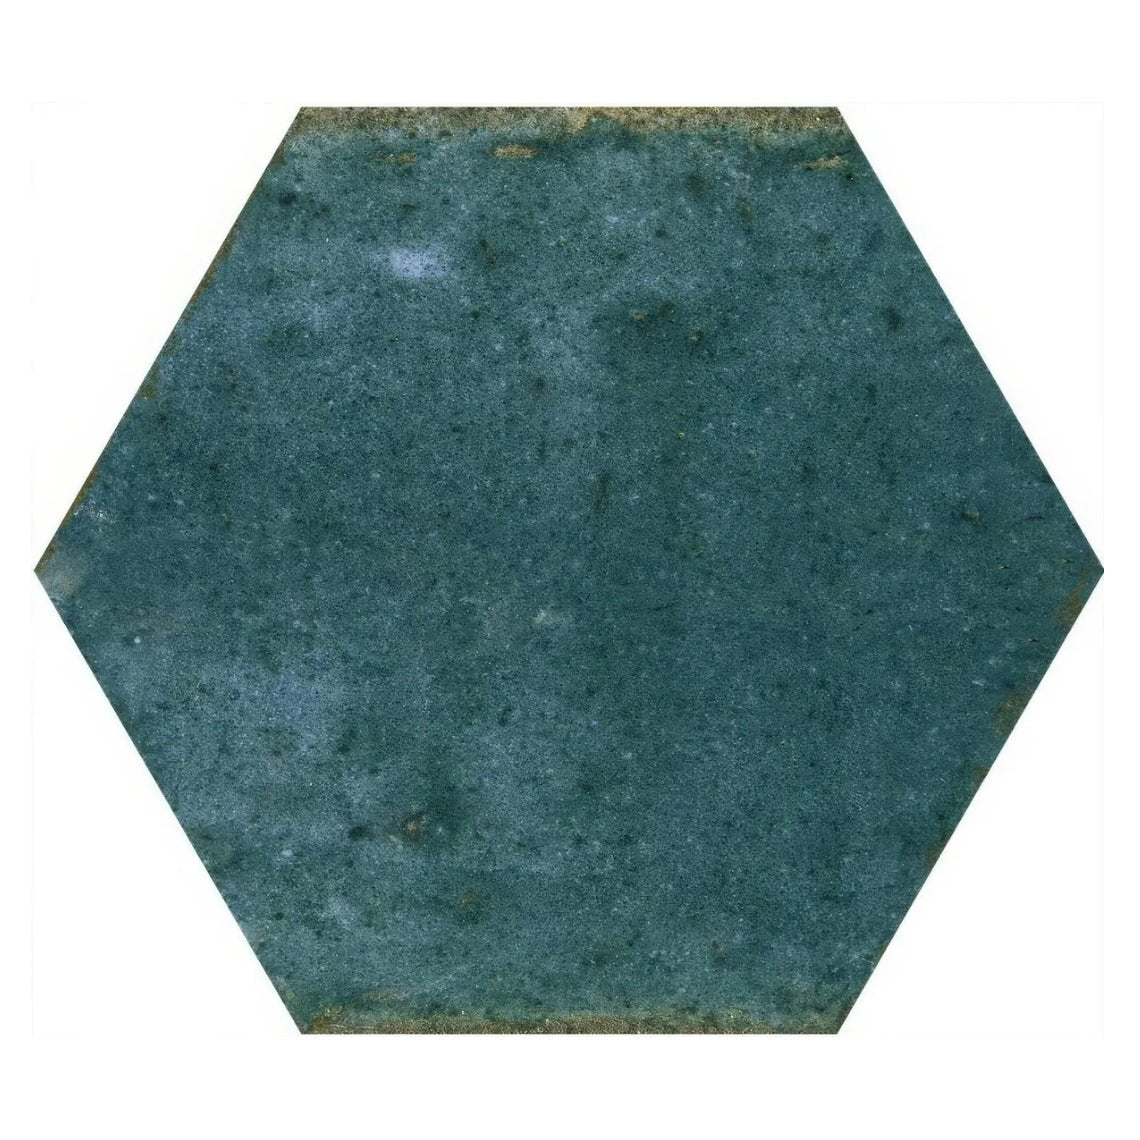
A rectified porcelain tile has its edges ground by machine after firing, so every tile in the batch is cut to the same exact size with crisp, square edges. That precision lets you lay rectified tiles with a slim grout joint, usually 2 to 3 mm, for a clean, almost seamless floor. Rectified tiles still need a grout joint, a flat floor and careful laying, because grinding the edges does not make the face of the tile perfectly flat. Get those three things right and rectified porcelain gives you one of the most refined floors you can fit in a UK home.
Key facts
- Rectified means the four edges are mechanically ground after firing to a precise size and a 90° edge.
- Non-rectified tiles keep the slightly rounded "cushion" edge they leave the kiln with, and need wider grout joints.
- Most manufacturers recommend a minimum joint of 2 to 3 mm for rectified porcelain floors. Never butt tiles tight together.
- Large tiles can have a slight bow along their length, which is why offset patterns and floor flatness matter.
- For long tiles, most manufacturers recommend an offset of no more than one third of the tile length.
- Use a flexible C2 S1 cement-based adhesive with a solid bed and back-buttering on large formats.
Rectified vs non-rectified tiles
How rectifying works
Porcelain shrinks as it fires in the kiln, and no two tiles shrink by exactly the same amount. A batch of tiles sold as 60 x 60 cm can vary by a millimetre or more from tile to tile. To remove that variation, the manufacturer runs fired tiles through a line of diamond grinding wheels that trims all four edges to one exact size and leaves a sharp, square edge. That extra step is rectification.
Non-rectified tiles skip it. They keep the soft, slightly rounded edge they come out of the kiln with, often called a cushion or pressed edge. Manufacturers sort them into size bands, called calibres, so tiles from the same calibre sit close in size, but they still vary more than rectified tiles.
How to tell if a tile is rectified
Check the product description or the box, which usually says "rectified" or shows "Rect". Look at the edge: a rectified tile has a sharp corner where the face meets the side, while a non-rectified tile has a visible rounded edge. Place two tiles side by side on a flat surface. Rectified tiles meet in a near-perfect straight line.
Do not mix rectified and non-rectified tiles in one floor, even in the same colour. Their sizes and edges differ enough to show.
Grout joints: how thin can you go
The most common question about rectified tiles is whether you can lay them with no grout joint at all. You cannot, and a good tiler will not. A floor needs a joint between every tile for four reasons:
- Movement. Floors expand and contract with temperature, moisture and underfloor heating. Grout joints and perimeter movement joints absorb that movement. Without them, tiles push against each other and can crack or lift off the floor, a failure known as tenting.
- Size tolerance. Even rectified tiles vary by a fraction of a millimetre. A joint absorbs that difference so the lines stay straight across the room.
- Lippage control. A slim joint gives each tile room to sit level with its neighbour.
- Grout strength. Grout needs enough width to fill the joint fully and bond to both tile edges.
For rectified porcelain floors, most manufacturers set the minimum joint at 2 to 3 mm, and the tile box or product data sheet gives the figure for that tile. Choose 3 mm on most domestic floors, especially with large formats, wood-effect planks or underfloor heating. Use 2 mm only on a very flat floor with tiles that are consistent in size and flat along their length. BS 5385, the British Standard code of practice for wall and floor tiling, also requires movement joints around the edges of the floor and at intervals across larger areas, so leave a gap at every wall and fill it with flexible sealant rather than grout.
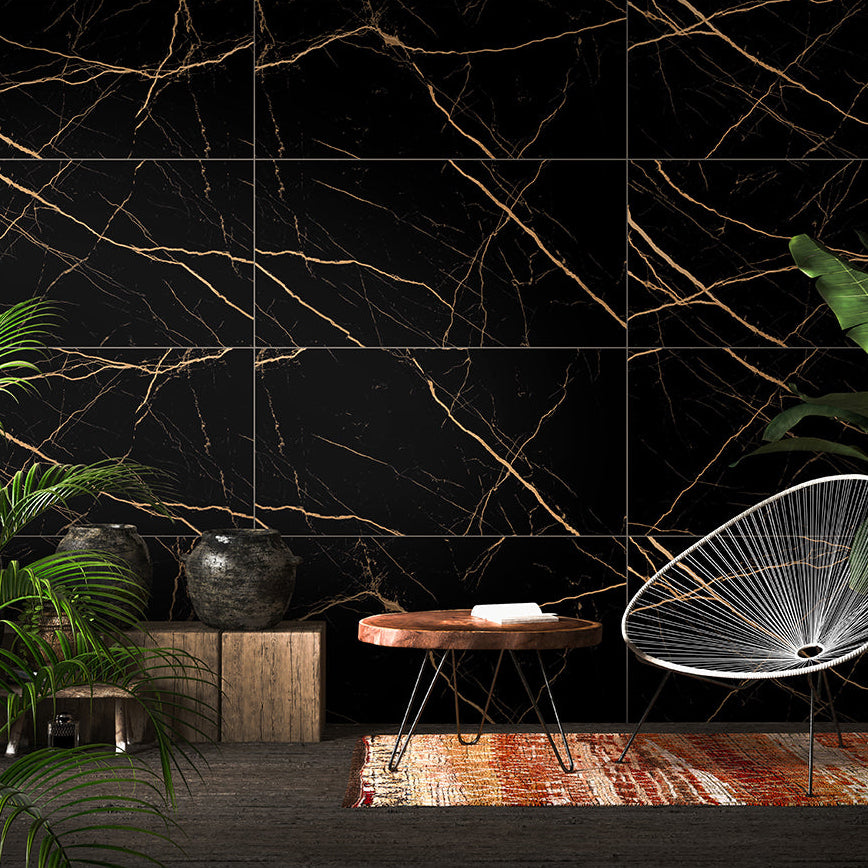
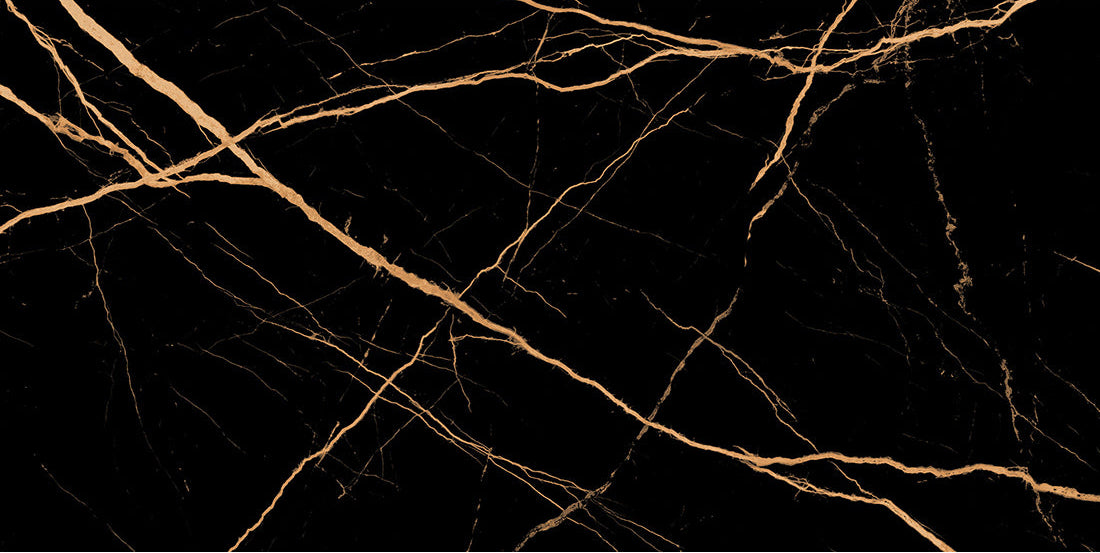
A slim joint draws the eye less, so choose a grout colour close to the tile. On Atlantis Gold 60x120 polished porcelain, for example, a warm white or beige grout at 2 to 3 mm gives an almost continuous marble look.
Browse our grouts and silicones to find a close match.
Why rectified tiles still lip
Lippage is when the edge of one tile sits higher than its neighbour. On a floor with slim joints and sharp edges, even 1 mm of lippage catches the light and your bare feet. Rectifying trims the edges, but it does not flatten the face of the tile. Three things cause lippage on rectified floors.
Warpage
Large porcelain tiles can bow very slightly along their length during firing, with the centre a fraction higher or lower than the ends. On a 60 x 60 cm tile you rarely notice it. On a 60 x 120 cm tile or a 20 x 120 cm plank, the effect grows with the length. Manufacturers allow a small tolerance for this under BS EN 14411, the standard for ceramic tiles.
Offset pattern
A 50% brick-bond offset places the bowed centre of one tile next to the ends of the next. That is where warpage shows most. For tiles longer than about 60 cm on any side, most manufacturers recommend an offset of one third of the tile length or less. Some wood-effect plank ranges specify a random offset of 20 to 30 cm instead. Check the box before you set out the floor.
An uneven floor
Slim joints leave nowhere to hide an uneven base. A floor for large-format tiles should commonly be within 3 mm under a 2 metre straightedge, and the flatter the better. Check with a long level before you start, and use a levelling compound where needed.
How to lay rectified porcelain floor tiles flat
- Check the boxes. Open every box before you start and confirm the shade and batch numbers match. Lay out a few tiles from different boxes in daylight to check colour and size. Look for any arrows on the back, which show the direction the tiles must face.
- Prepare the floor. The base must be flat, sound, clean and dry. On a timber floor, screw down tile backer board or exterior-grade plywood to stiffen it. On a new sand and cement screed, allow it to dry fully before tiling, and prime it as the adhesive maker specifies. Level any dips with a levelling compound.
- Set out from the centre. Dry-lay a row in each direction to plan where the cut tiles fall. Aim for cuts of at least half a tile at the doorway and against the most visible wall, and avoid thin slivers.
- Choose the right adhesive. Use a flexible C2 S1 powdered adhesive, which handles porcelain, large formats and underfloor heating. Our guide to ready-mixed vs powdered tile adhesive explains why ready-mixed adhesive will not cure under porcelain.
- Spread a solid bed. Use a 10 to 12 mm notched trowel, comb the ridges in one direction, and back-butter every tile of 60 x 60 cm or larger with a thin coat. Press and slide the tile across the ridges to collapse them. Lift a tile now and then to check full coverage, with no hollow spots.
- Use a levelling clip system. Clips and wedges or caps pull neighbouring edges level while the adhesive sets. They make a measurable difference on large-format and plank tiles. Find them with our spacers and levellers.
- Keep the joints consistent. Use spacers at the joint width you chose and check your lines with a straightedge every few rows.
- Leave movement joints. Keep a gap at every wall, pipe and upstand, and follow BS 5385 for intermediate movement joints in larger floors. Cover the perimeter gap with skirting or fill it with flexible silicone.
- Grout and seal. Once the adhesive has set, remove the clips, grout with a colour close to the tile, and clean the surface as you go. Polished porcelain may need a pre-grout protector, so check the tile maker's guidance.
- Protect the floor. Keep foot traffic off until the adhesive has cured, and wait the full time stated before switching on underfloor heating.
Choosing porcelain for your floor
Rectified or not, porcelain is the best all-round choice for UK floors. It absorbs almost no water, resists frost, scratches and stains, and suits underfloor heating. The right format depends on the look you want and the room.
Prices are from bridgendtb.uk at the time of writing. Each product page lists the format and finish, and our team can confirm whether a tile is rectified and its recommended joint width before you order.
Polished porcelain such as Atlantis Gold gives a glamorous, reflective floor, but it is slippery when wet. Use it in hallways, living areas and dry kitchens, and choose a matt finish for bathroom floors and entrances where wet shoes come in. Ask for the slip rating of any floor tile you are considering for a wet area.
Common mistakes to avoid
- Butting tiles together with no joint. The floor has no room to move and can crack or lift.
- Using a 50% offset on long tiles. It doubles the effect of any bow and causes lippage.
- Skipping the floor check. Slim joints show every dip and hump.
- Spot-fixing or leaving hollow spots under the tile. Corners crack under load.
- Mixing batches. Shade and size can differ between production runs.
- Grouting the perimeter. Use a flexible sealant at walls so the floor can move.
For the trade
Rectified large-format floors reward careful preparation, and clients notice the difference. Price in time for floor levelling and a levelling clip system, back-butter every large tile, and set out offsets to the manufacturer's guidance before the first tile goes down. Check batch and calibre codes on delivery so a mixed pallet never reaches the floor. A trade account gives you trade pricing on porcelain, tiling essentials and levelling systems, with local collection from Brackla.
Frequently asked questions
What does rectified mean on porcelain tiles?
Rectified means the tile's four edges were ground by machine after firing, so every tile is cut to the same precise size with sharp, square edges. This lets you lay the tiles with slim grout joints of 2 to 3 mm for a clean, contemporary floor. Non-rectified tiles keep a softer, slightly rounded edge.
Can rectified tiles be laid with no grout joint?
No. Rectified tiles still need a grout joint, usually at least 2 to 3 mm on floors, to allow for movement, small size differences and level setting. Butting tiles together can cause cracking or tiles lifting from the floor. Check the tile box or data sheet for the manufacturer's recommended minimum joint.
Why are my rectified tiles uneven?
Uneven edges, called lippage, usually come from three causes: a slight bow in long tiles, a 50% brick-bond offset that puts a high centre next to a low end, or an uneven floor. A one-third offset, a flat floor, a solid adhesive bed and a levelling clip system prevent most lippage.
Are rectified tiles better than non-rectified tiles?
Neither is better in every case. Rectified tiles suit large formats, marble and stone effects and modern schemes where you want slim, straight grout lines. Non-rectified tiles suit smaller, patterned or traditional tiles, where a slightly wider joint is part of the look and hides small variations.
Do rectified tiles cost more to fit?
They can take a little longer, because the floor needs to be flatter and large tiles benefit from back-buttering and levelling clips. On most domestic floors the difference is modest. Many larger porcelain tiles are only made rectified, so for a large-format look the choice is made for you.
See rectified porcelain at full size in Bridgend
Large-format porcelain looks completely different on a floor than in a photo. In our showroom you can see 60 x 120 cm and wood-effect porcelain laid out at full size, compare grout colours and joint widths, and talk through your floor with our team. Bring your room measurements and we will work out quantities, adhesive and levelling systems with you.
Visit us at Unit 1, Main Avenue, Brackla Industrial Estate, Bridgend, CF31 2BB. We are open Monday to Friday from 8am to 5pm and Saturday from 10am to 2pm. Call 01656 767740, browse our floor tiles online, or plan your visit.